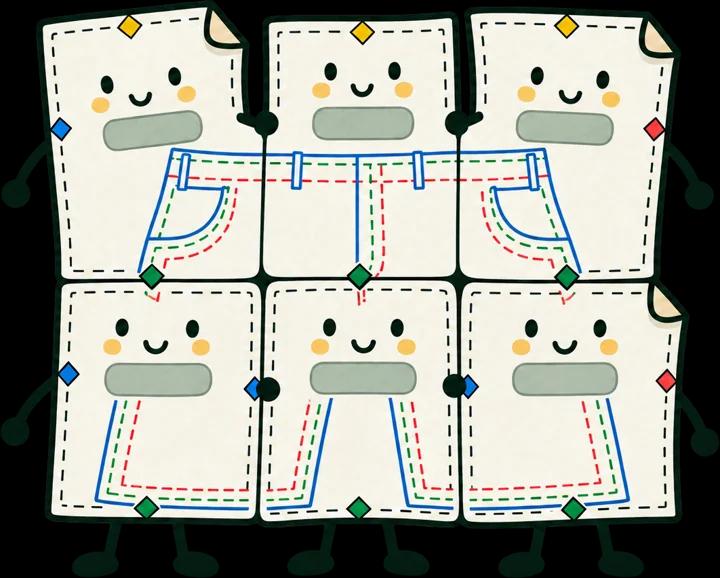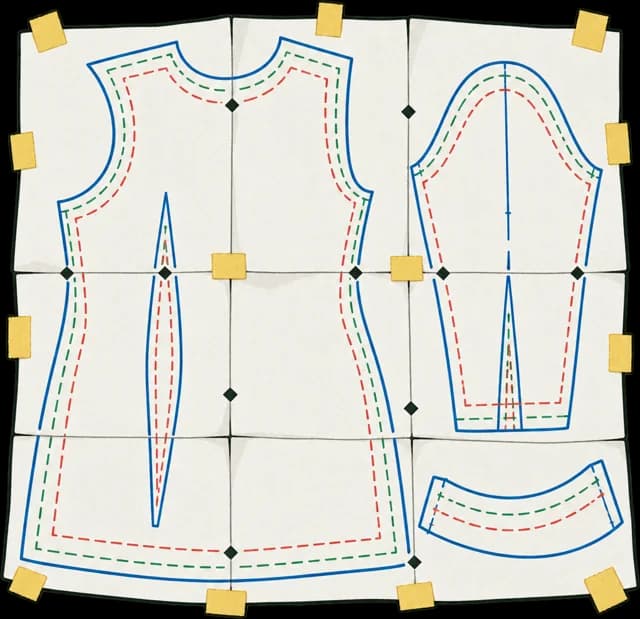
Illustrator is where a lot of sewing patterns are drawn, and it will tile them. What it won't do is make that easy. Its built-in tiling is made for printing a big poster on a small printer, not for building a file you can sell.
Here's the honest version: how to do it by hand with artboards, where layers go missing and why, and what to reach for if you'd rather not do it for every release.
Two kinds of tiling
Illustrator has two ways to split a drawing over pages, and they suit different jobs.
Print tiling lives in the Print dialog. Under Scaling you choose Tile, then Full Pages or Imageable Areas. Adobe's notes are worth knowing: the Overlap setting only exists for Full Pages, and a document with several artboards needs Ignore Artboards first. It's fine for printing one test copy of your own pattern. It isn't made for a file you sell: there are no tile labels or alignment marks, and what comes out of a print dialog isn't a layered PDF.
Artboard tiling means laying out one artboard per printed page, in a grid. It takes longer to set up, and it's what you need for a layered file, because a saved PDF makes one page per artboard and can keep your layers.
Tiling by hand with artboards
Keep a copy of your master untouched first. Everything below happens in a second file.
1. Check your layers
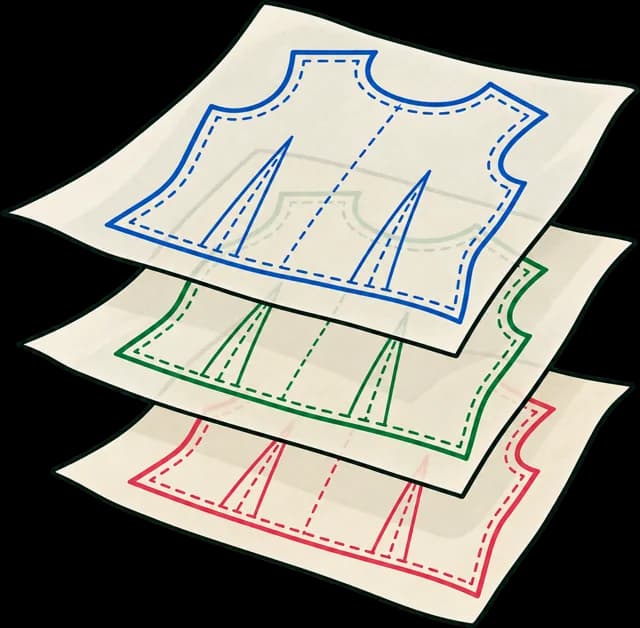
Every size must be its own top-level layer. Grainlines, notches and text go on their own top-level layers too. Adobe is specific about this: Acrobat layers come from top-level layers, not from layers nested inside them.
2. Work out the grid
Choose how much neighbouring pages overlap, so sewists can tape them: 10 mm is a common amount. Each new page starts one page width, less the overlap, from the last.
| Paper | Page size | Step with 10 mm overlap |
|---|---|---|
| A4 portrait | 210 × 297 mm | 200 mm across, 287 mm down |
| US Letter portrait | 215.9 × 279.4 mm | 205.9 mm across, 269.4 mm down |
Divide your drawing's width and height by those steps, and round up. Or let the tile calculator do it, with margins included.
3. Lay out the artboards
Make one artboard at the page size, then copy it across and down. Type each artboard's X and Y into the Properties panel rather than dragging it: a small drag error here becomes a gap in someone's tape-up. Artboards number themselves in the order you make them, so build them in reading order.
Printers can't reach the edge of the paper, so anything in the outer few millimetres of a page may not print. Keep labels and marks clear of it.
4. Add labels and marks
On a new top-level layer, called something like tiles, add a label for each page (A1, A2, B1…) and marks where pages meet. A diamond split across the join works well: half on each page, so two halves make a shape. Put a page map on the first page, and your test square.
5. Save the PDF
Use File > Save As, not Print, and choose Adobe PDF. In the Save Adobe PDF dialog:
- Set Compatibility to Acrobat 7 (1.6) or Acrobat 8 (1.7).
- Tick Create Acrobat Layers from Top-Level Layers.
- Untick Preserve Illustrator Editing Capabilities for a file you're selling. It keeps a full copy of your Illustrator data inside the PDF, which you don't need there and which makes the file bigger.
6. Check it
Open the PDF in Acrobat Reader, open the Layers panel and switch every size off and on. Drop it into our pattern file checker to see its pages and layers. Then print a page at 100% and measure the test square.
7. Do it again
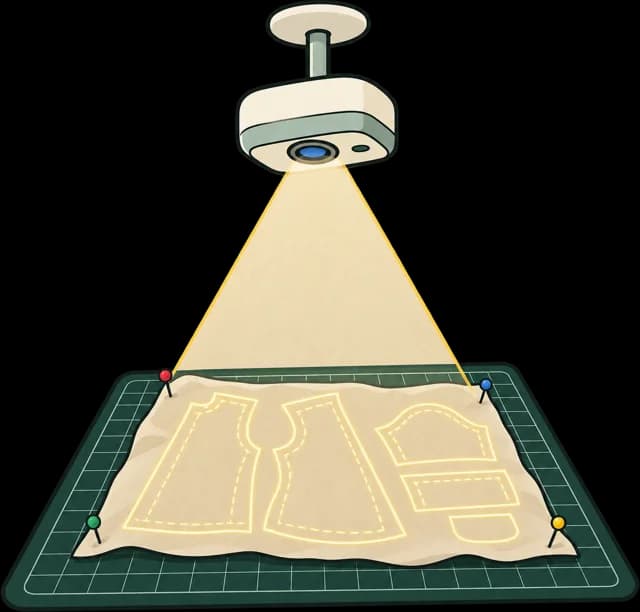
That was A4. US Letter is a different grid, so it's a second file with its own artboards, labels and marks. A0 and 36 × 48 in are two more, and a projector file is one more, with heavier lines. And when a tester finds that a notch is 3 mm out, the fix has to reach every one of them.
That's the real cost of tiling by hand. No single step is difficult, but the whole job comes round again with every correction.
Why layers get lost
If your PDF arrives flat, it's usually one of these.
The sizes are sublayers. Only top-level layers become Acrobat layers. If you've nested S, M and L inside a layer called Pattern, you get one layer called Pattern. Drag them out to the top level.
Compatibility is too old. The layers option is only there for Acrobat 6 and later. A preset that sets Acrobat 4 or 5 removes it, sometimes without you noticing, so check the setting if the tick box is greyed out.
The box wasn't ticked. It's easy to miss, and Illustrator's save dialog can remember choices between files.
It went through the Print dialog. A PDF made by printing is what a printer would receive, which normally means a flat page. Save As is the route that keeps layers.
Another app opened it afterwards. Some PDF editors, shrinkers and online tools flatten a file without saying so. Run the checker on the final file, not the one before it.
Shortcuts
A template. Ready-made Illustrator tiling templates save the artboard set-up: you paste your pattern in and delete the pages you don't need. Our free master template is a different thing: a layered starting point for your drawing, with the layers and test square already in place.
A script. Illustrator scripts can make the artboards for you. See our comparison for what we could confirm about them. Either way, you still save, check and repeat for each format.
Sewpress. Upload the master, untiled, as an .ai file, a layered PDF or an SVG. You get tiled A4 and Letter with labels and alignment marks, copyshop sheets and a projector file, with your layers kept and each file measured. The drawing is placed once and never redrawn, so every format matches. Fix a notch, upload again, and they all update.
Your next step
If your sizes are already on top-level layers, you're set up for it. Save your .ai file and build free tester files: every format, marked TEST COPY, and you can see what you'd get before you pay for anything.
Sources
Read on 7 November 2026. Illustrator changes, so check your own version's dialogs.
- Adobe: How to set up Illustrator files for printing, for tile options, overlap and artboards.
- Adobe: Save and export PDF files, for layered PDFs and top-level layers.
- Adobe: Adobe PDF options, for the compatibility the layers option needs.
Questions
Can't I just use Print with Tile?
For a one-off test print, yes. For a file you sell, no: there are no labels or alignment marks, and what comes out of a print dialog normally isn't a layered PDF.
Why did my PDF lose its layers?
Usually the sizes were sublayers rather than top-level layers, Compatibility was set too low, Create Acrobat Layers wasn't ticked, or the PDF went through the Print dialog.
Does Sewpress need a tiled file?
No, and it can't use one. Upload the master from before it was tiled, with every piece whole.
How much overlap should I use?
10 mm is a common amount: enough to tape and line up, without adding many pages. Whatever you choose, use the same on every page.