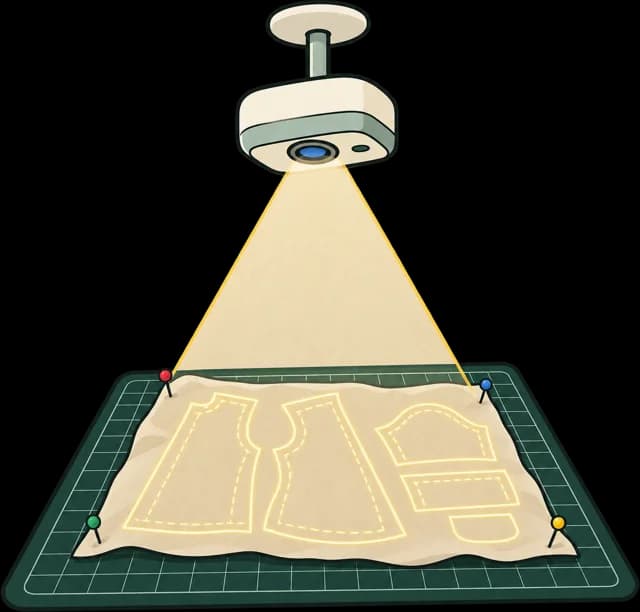
Sewing with a projector means no printing, no taping and no tracing: the pattern is projected straight onto the fabric, at true size. More and more sewists ask for a projector file by name. It isn't hard to make one, but it is different from a print file.
What makes a projector file different
| Print file (A0) | Projector file | |
|---|---|---|
| Pages | As many sheets as needed | One page, however big |
| Line weight | Thin, for paper | Heavier, so it reads on fabric |
| Layers | Nice to have | Essential: sewists cut on one size |
| Calibration | Test square | Test square and marks to line up |
| Background | White | White is fine; avoid large filled areas |
One wide page
Projector apps show one page and let the sewist move around it. Lay out every piece on a single page at true size: A0 landscape is a common minimum, and wider is fine. Don't tile.
Heavier lines
A 0.5 pt line that prints crisply on paper disappears on patterned fabric under a projector. Projector files usually use lines two to three times heavier than print files. Make sure the boost reaches every line, including ones inside grouped or nested art, or some pieces will look faded.
Layers, layers, layers
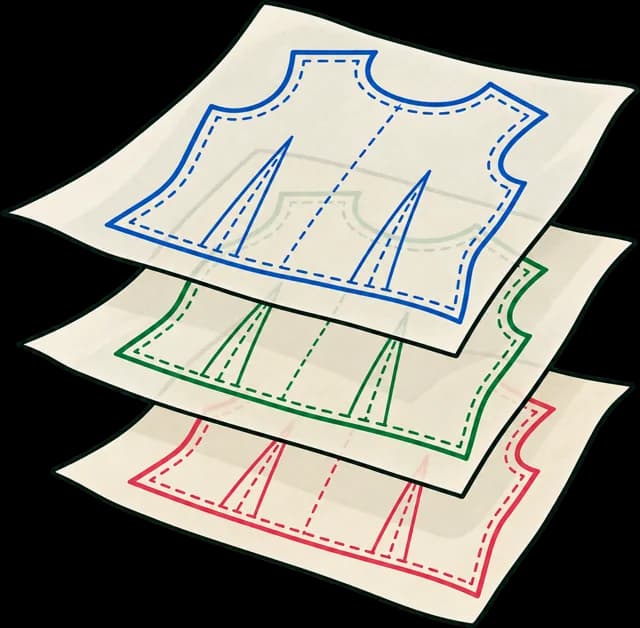
On a projector, every visible size is a line the sewist might cut by mistake. With each size on its own PDF layer, they switch off everything but their size and cut on one clear line. Keep grainlines and notches on shared layers that stay on.
Calibration
Sewists size the projection by measuring something known. Include the test square, and ideally a grid or corner marks they can line up with their cutting mat. Apps like Pattern Projector use these to calibrate.
Making one with Sewpress
Sewpress makes the projector file from the same master as your print files: one wide page, lines boosted (including inside nested groups), every size its own layer, the test square measured. If your master is set up for print, it's already set up for projection: see how to set up a layered master file.
Questions
Is a projector file the same as the A0 file?
Close, but not quite: it's one page however big the pattern is, the lines are heavier, and it's designed to be viewed, not printed.
Which apps do sewists use?
Most use the free Pattern Projector web app or Adobe Acrobat Reader, both of which show PDF layers.