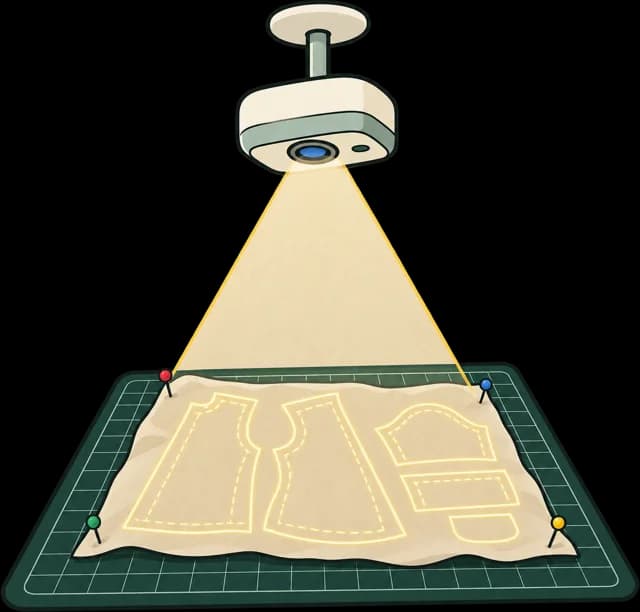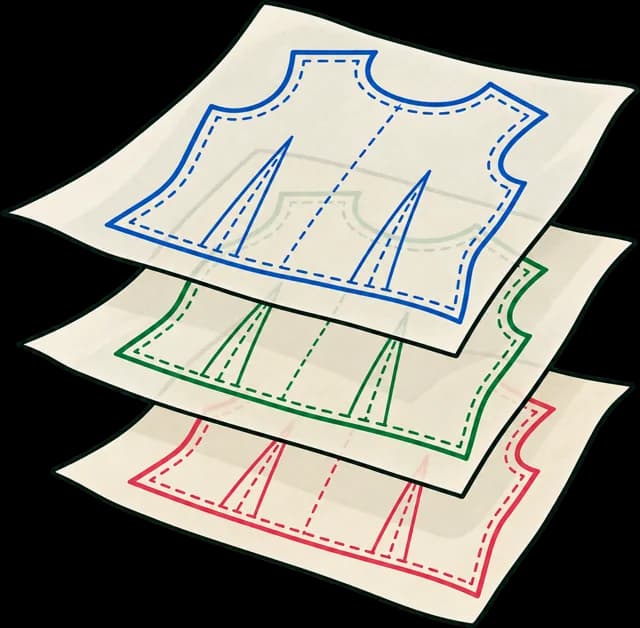
Every format a sewist might want (tiled A4 and Letter, A0 for the copyshop, a projector file) can come from one drawing, if that drawing is set up the right way. This is the setup Sewpress reads, and it's the same setup that makes your own life easier in Illustrator, Inkscape or Affinity.
One artboard, real size
Draw at real size, in millimetres or inches, on a single artboard big enough for every piece of the largest size. Don't tile or split pieces yourself: the tiling happens later, from the finished drawing, so a curve is never cut and redrawn.
Leave a little space between pieces. It doesn't need to be tight; nesting can come later.
One layer per size
Put each size on its own layer, and name the layer after the size:
| Layer | What's on it |
|---|---|
S, M, L (or 34, 36, 38) | Every piece outline for that size, including seam allowance |
_grainlines | Grainline arrows, shared by all sizes |
_notches | Notches and dots that line pieces up |
_text | Piece names, cutting instructions, the legend |
_test | The test square |
The underscore means "shared": these layers print with every size. Sizes stay separate so sewists can hide the ones they don't need.
Named your layers differently? That's fine. Sewpress guesses from names like "Size M", "Grain" or "Scale check", and you confirm or change each one on the mapping screen before anything is built.
A 100 mm test square
Draw an exact 100 × 100 mm square (or a 4 in one) on the _test layer. Make it from a rectangle tool with typed dimensions, not by eye, and keep "scale strokes" off if you resize anything.
This square is how everyone downstream checks scale: Sewpress measures it in every output, and your customers measure it when they print.
Exporting
Illustrator: save a PDF (File → Save As → Adobe PDF) with Create Acrobat Layers from Top-Level Layers ticked. A PDF carries real units, so there's no doubt about scale. Illustrator's SVG export also works (each top-level layer becomes a named group), but it writes 72 units per inch where most software reads 96, so the inspection screen will ask you to confirm the scale.
Inkscape: save as Inkscape SVG. Inkscape layers are exactly what Sewpress reads, and Inkscape 0.92 and later use 96 units per inch. Inkscape's PDF export doesn't keep layers as PDF layers, so use SVG.
Affinity Designer: export SVG; each top-level layer becomes a named group. Check the test square on the inspection screen, and pick the right units there if it reads 75 mm.
Check before you build
The pattern file checker reads a PDF and shows its layers and page sizes in your browser. When you upload to Sewpress, the inspection screen shows the same, plus what your test square measures, before you spend anything.
The most common surprise is a square that measures 75 mm. That's a file exported at 72 px per inch and read at 96: see why patterns print at the wrong size.
Questions
Can I use groups instead of layers?
Yes, as long as each size is one top-level group with the size as its name. In SVG, top-level groups and layers look the same.
Do layer names have to match exactly?
No. Sewpress guesses roles from names like “Size M” or “Grain”, and you confirm or change them on the mapping screen.
Should seam allowance be its own layer?
Keep it with each size's outline, since it is part of the cutting line for that size.